Mantel Tile Mural. Work in Progress
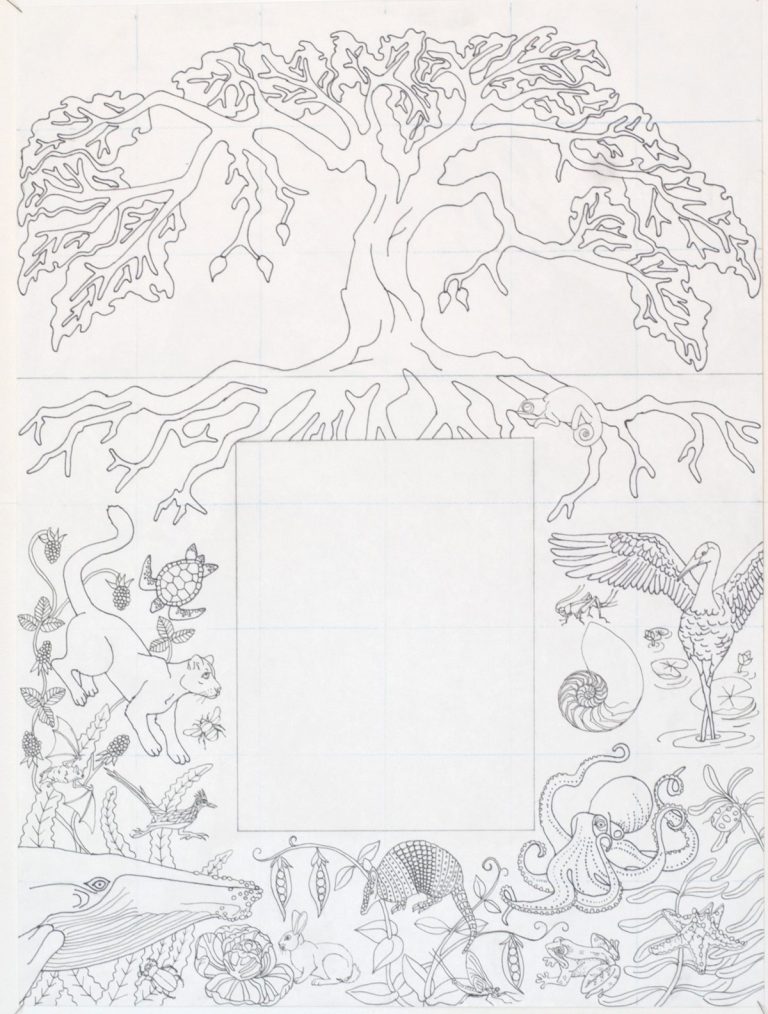
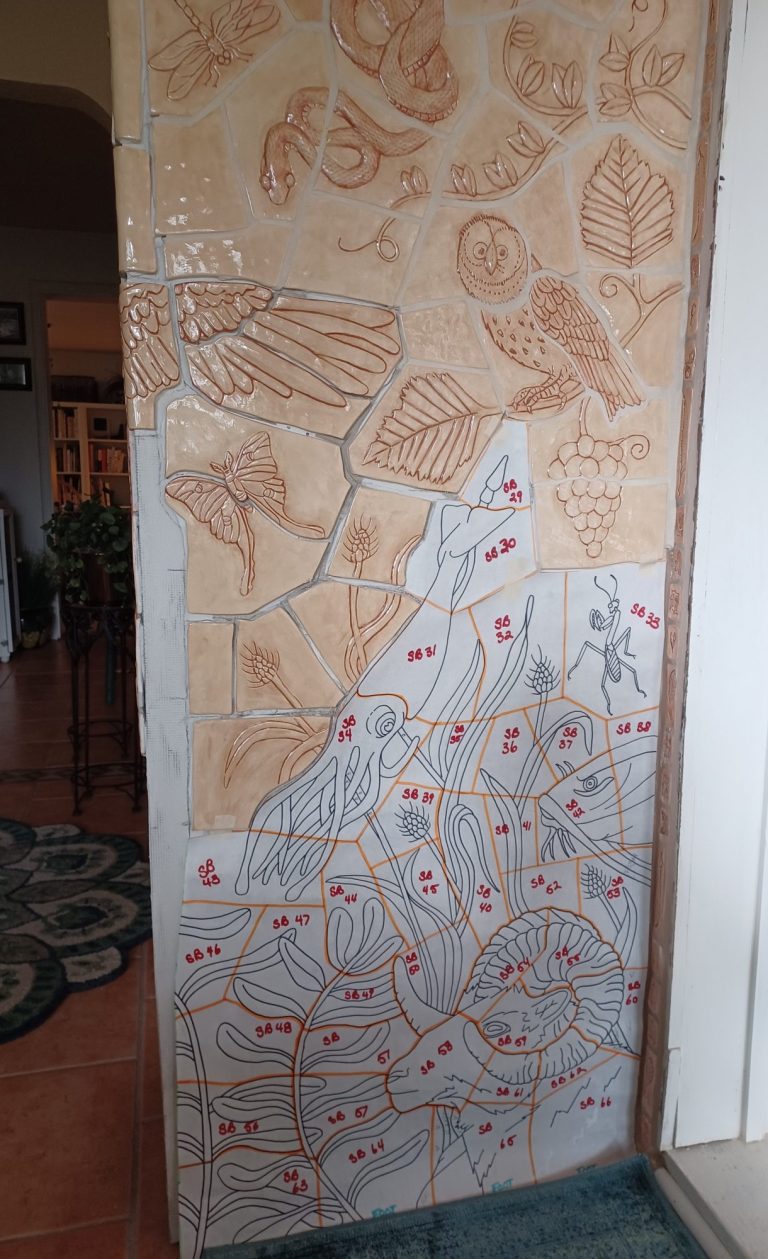
I'm making hand carved tiles to create a mural for my fireplace mantel. The theme is the tree of life. The tree is above the mantel shelf while its roots, the creatures, and plant life are below.
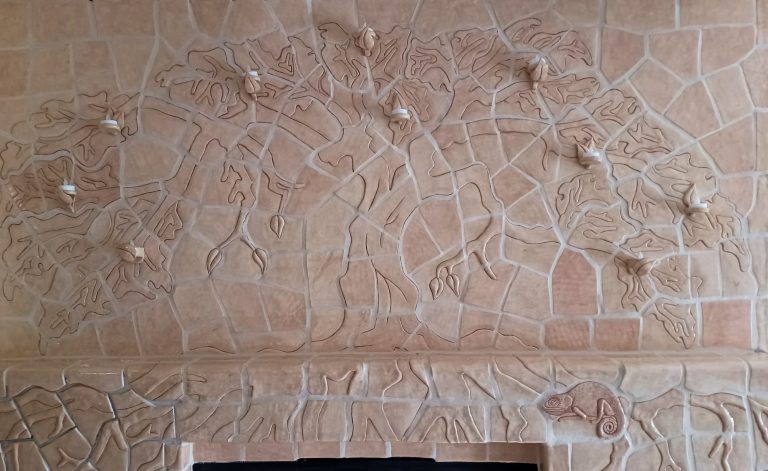
This is the daylight view of the first area completely finished. I added little sconces to hold tea lights.
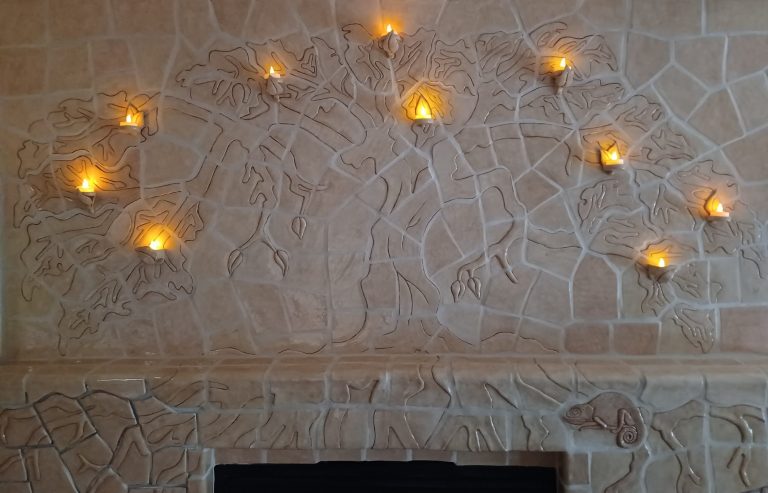
A view with candles lit. I was lucky to find a set of LED tea lights with remote!
Kitchen Tile Mural. Work in Progress
This is a kitchen backsplash tile mural made with red clay. Included are some of my favorite Southwestern images.
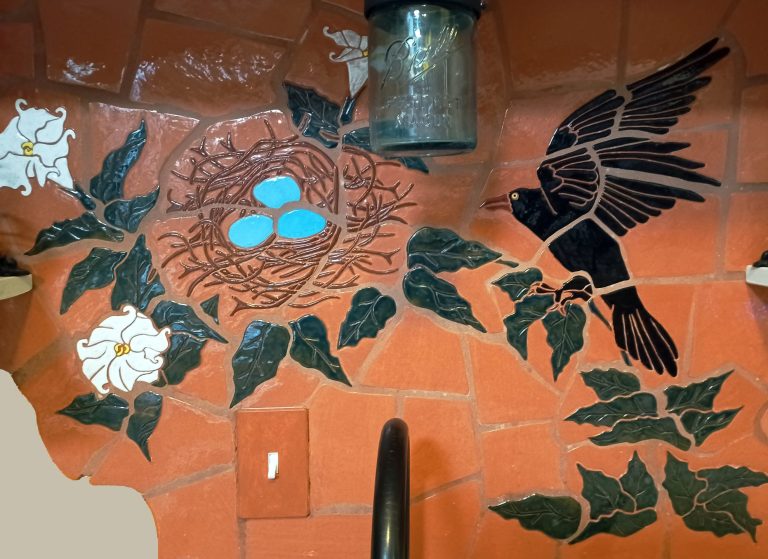
The area right above the sink is the first area finished.
I love the organic edge.
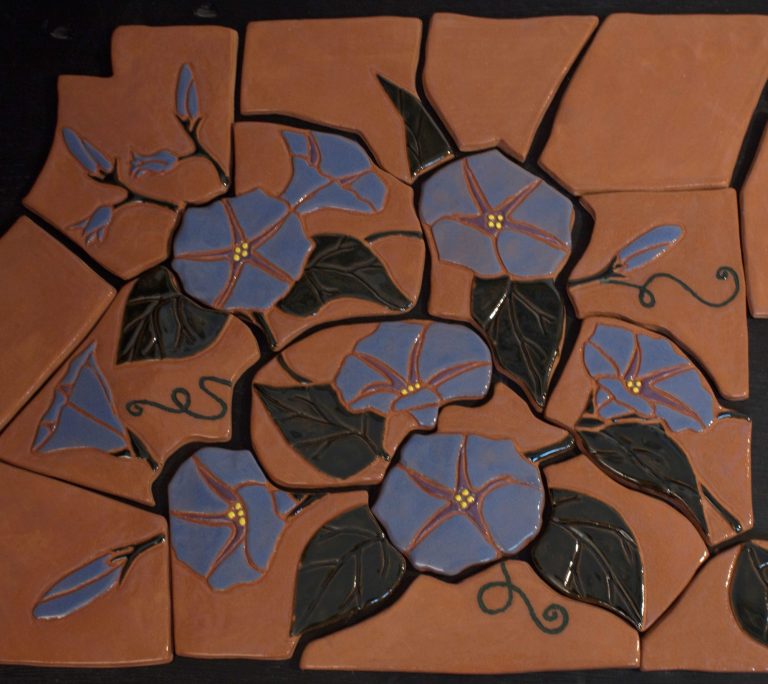
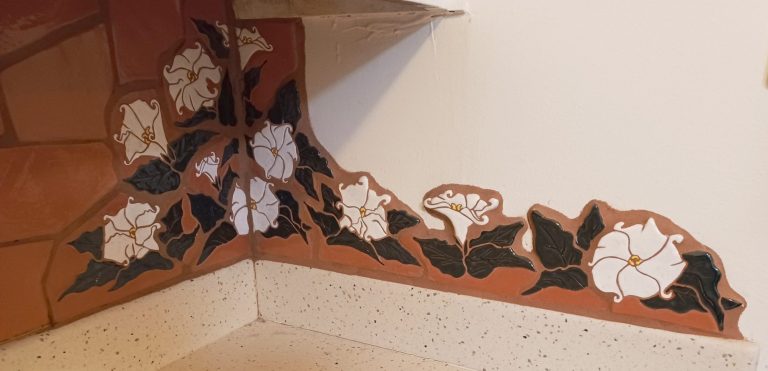
An area of glazed morning glories ready to install.
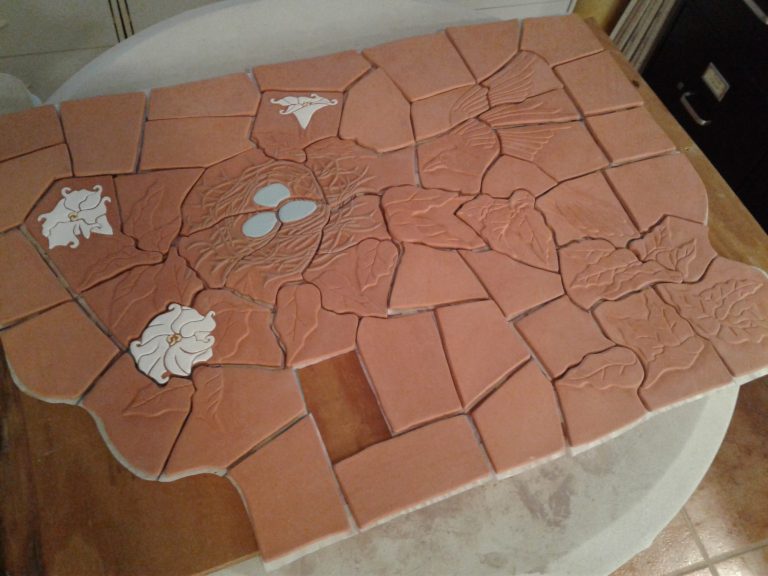
The center tiles fresh out of the kiln, ready for glazing.

Here is where it began, with the raven and nest and Datura.
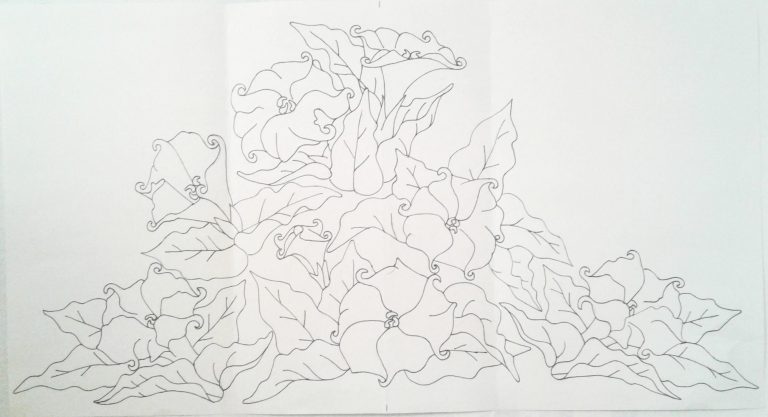
Datura drawing. These flowers are open in the morning, then close later in the heat.
Relief Tile process
Below is a description of my process for creating hand made tile murals. I use low fire (cone 04) clay as these murals are indoors.
1.

2.
3.
4.
5.
6.

7.
8.
9.
10.

11.
12.
Step by Step Instructions
1) Make a drawing to scale on smaller paper.
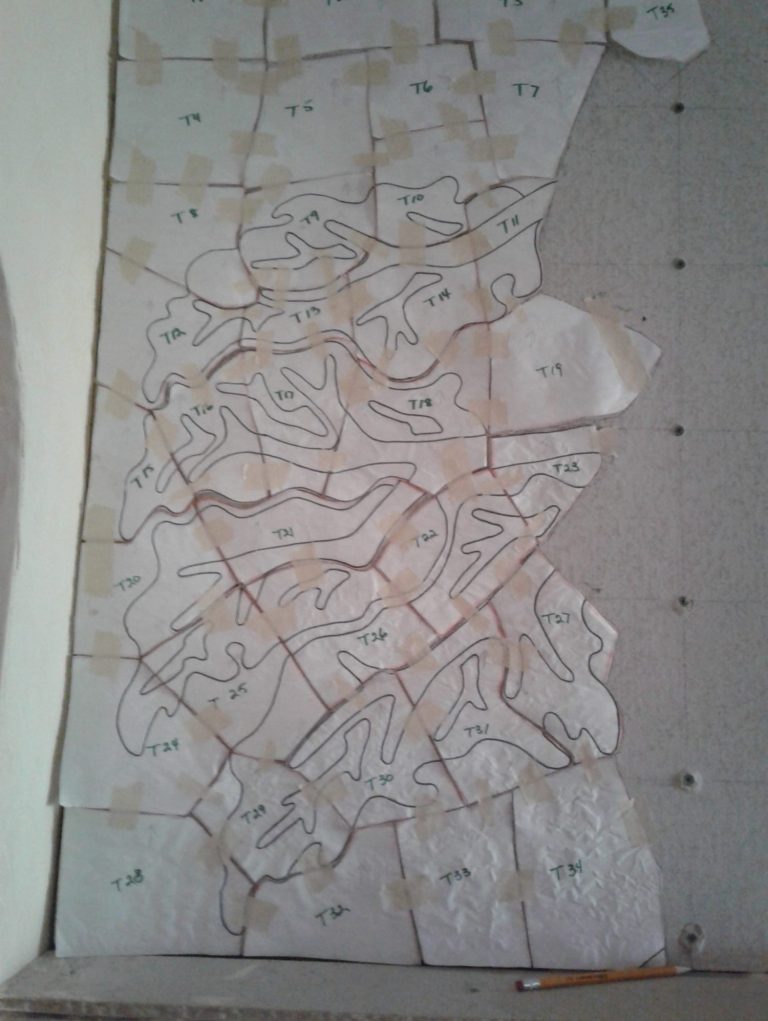
2) Project onto large paper which is the exact size of the mural area. I use an old-fashioned overhead projector which means the original drawing must be transferred to transparency first. Trace enlarged image onto the big paper, then outline in Sharpie. This can be done in sections if the mural area is large.
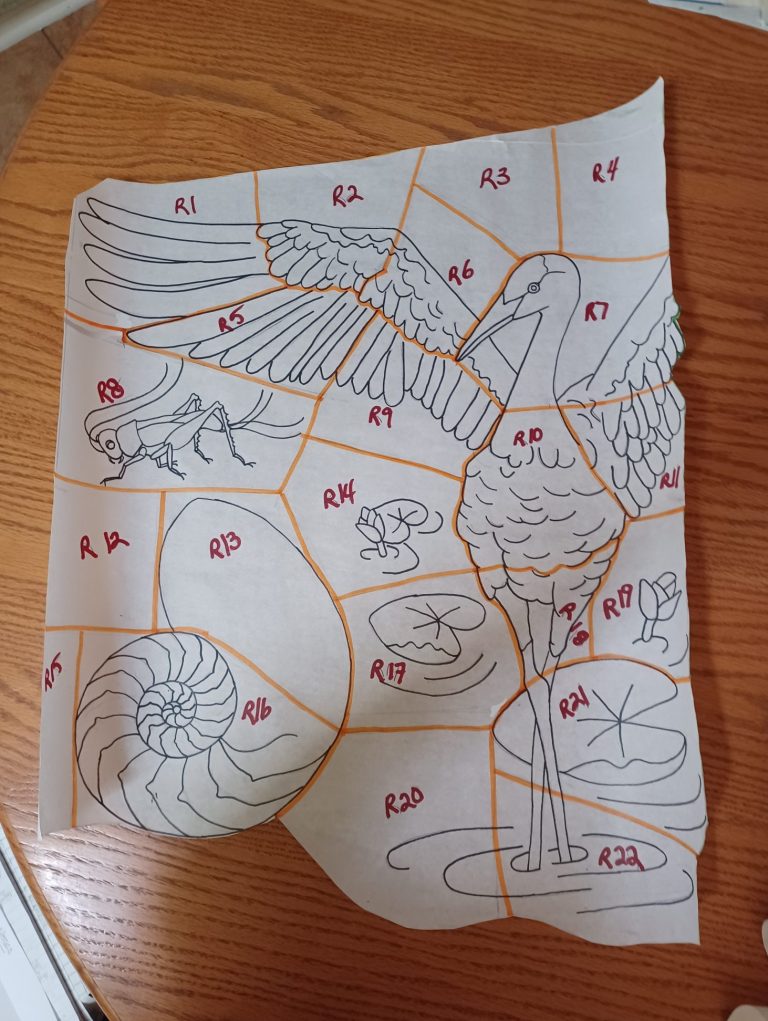
3) With colored marker or highlighter, divide into pattern pieces, which will fit together like a puzzle. Wherever possible, follow the natural lines of the objects. Number each piece. Take a picture at this point to help with assembly later.
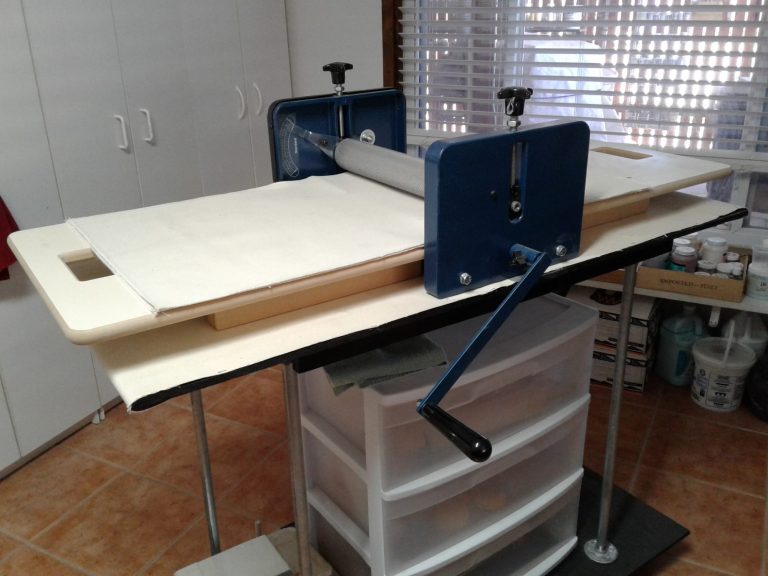
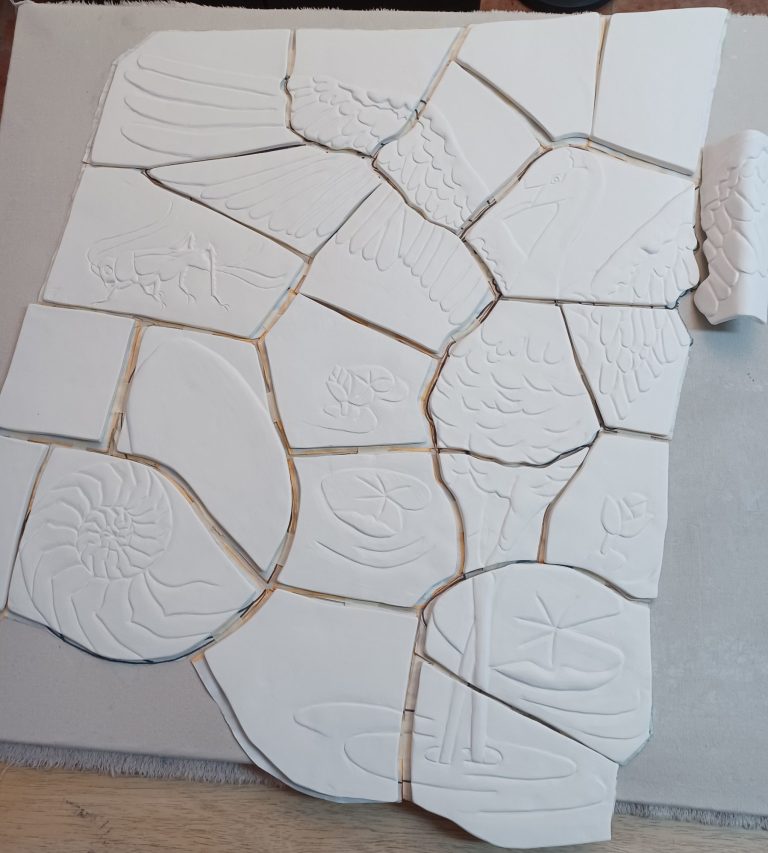
4) Using my slab roller, which saves hours of time and labor, I roll out the clay, cut out the individual pieces. Tracing the images lightly with pencil makes lines on the clay which will be carved later.
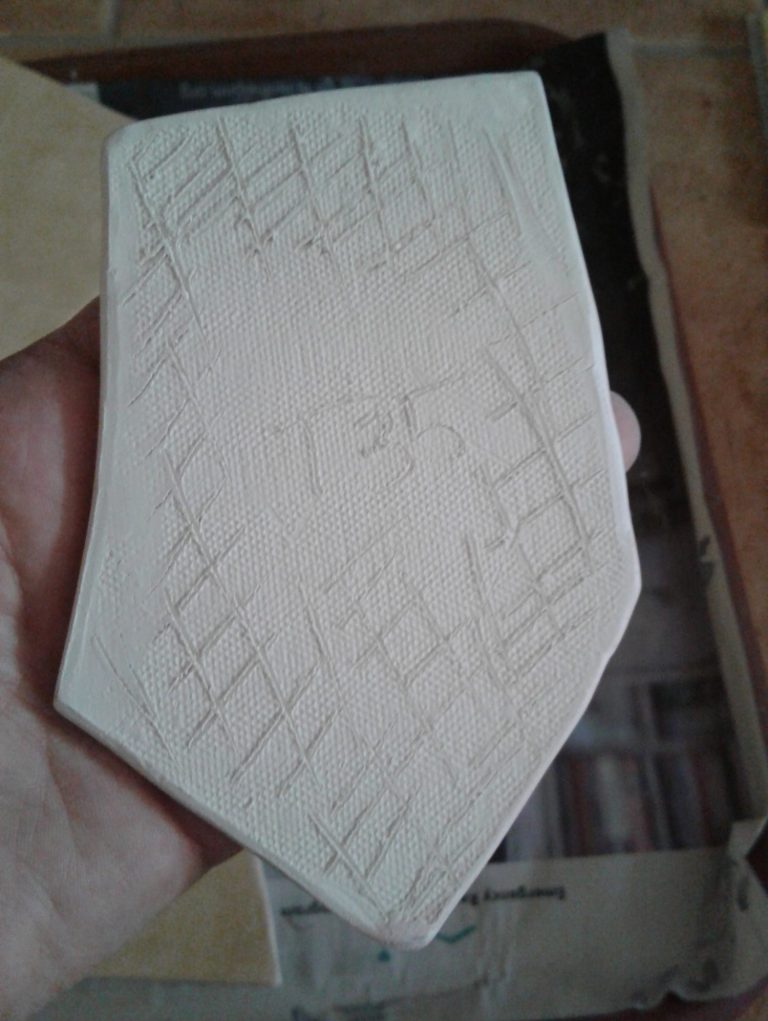
5) Once the clay firms up a bit, score and number the backs of the tiles and clean the edges.
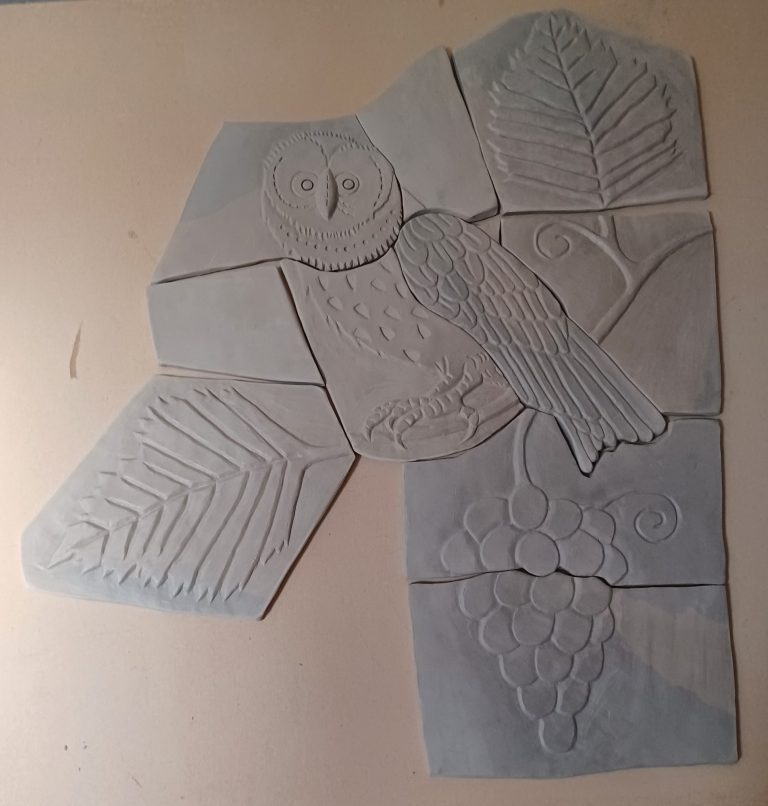
6) There are different carving methods at each stage of drying. Sometimes I will add clay to build up areas. Tiles are covered with newspaper and plastic between work sessions. They remain on canvas covered boards at this point.
7) Once the carving is finished, tiles are moved to plasterboard where they dry slowly to prevent warping. Initially they're covered with dry newspaper and plastic, the plastic eventually removed, then the newspaper. Once bone-dry they are gently sanded with sanding screen. Don’t press too hard as they are fragile.
8) Tiles are bisque fired, glazed, then glaze fired.
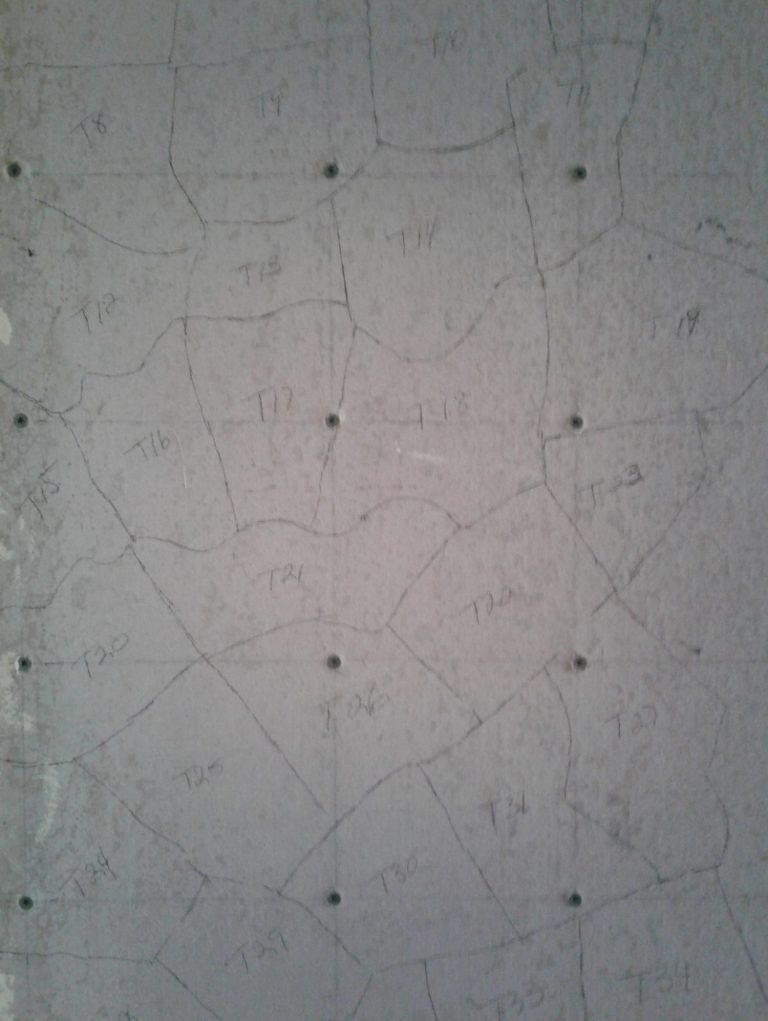
9, 10) For installation I begin with tracing the puzzle pieces which I have tacked together, on the foundation (usually cement board) and numbering them. This way I don’t have to do the math (figuring out percentage of shrinkage during drying and firing).
11) I first lay the tacked together pattern on the floor and set corresponding tiles on top.
12) The tiles are matched to the patterns on the foundation, back-buttered and adhered with thin-set tile mortar. Once dry, the area is grouted. Sanded grout is mixed in small batches and applied using gloved hands. This method works best for irregular surfaces and tile shapes. Depending on where they’re installed, the grout can be sealed or not (in the kitchen, for example, I use a sealant).